
DIY Gel Nail Perfection – Semi-Cured Strips 101
Share
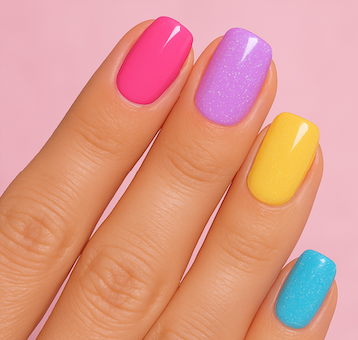
Instant Salon Slay? Yes Please.
No UV lamp? No time? No problem. Semi-cured gel strips give you a glossy, 2-week wear look in minutes — and they’re a whole vibe.
💅 You’ll Need:
-
Dipped in Diva Semi-Cured Gel Strips
-
Nail file & cuticle pusher
-
Nail scissors (optional)
-
UV Lamp (mini or full-size)
-
Top Coat (optional but diva recommended)
Step-by-Step:
1. Clean + Prep
Start with clean, dry nails. Push back cuticles and buff lightly for better adhesion.
2. Find Your Fit
Match each strip to your nail size. If in between sizes, go smaller and stretch the strip gently.
3. Stick With It
Peel off the strip and apply firmly from cuticle to tip. Press out any bubbles with the included pusher.
4. Snip & Shape
Trim the excess and file down in one direction (don’t saw, diva!).
5. Lock It In
Cure under a UV lamp for 60 seconds. Want extra shine? Seal with top coat and cure again.
💅 Tips from the Diva Lounge:
-
Warm strips slightly in your hands for easier application
-
Avoid soaking hands in water for a few hours post-application
-
Store extra strips in a zip-seal bag to keep them fresh
Featured Products:
-
Diva Glaze – Semi-Cured Strip Kit
-
Pocket-Sized UV Lamp
-
Nail Prep Essentials